Starting a New Project
Welcome to Snowpack! This guide shows you how to set up Snowpack from scratch in a Node.js project. Along the way learn key concepts of Snowpack and unbundled development
In this guide you’ll learn
- What makes Snowpack so fast? (hint: unbundled development!)
- What are JavaScript ES Modules (ESM)?
- Creating your first project
- Starting Snowpack’s development server
- Building your first project
- Customizing Snowpack with plugins
💡 Tip: This guide walks you through creating the Snowpack minimal app template from scratch. Spin up a copy of the final using the create-snowpack-app command line tool.
Prerequisites: Snowpack is a command line tool installed from npm. This guide assumes a basic understanding of JavaScript, npm, and how to run commands in the terminal.
Snowpack also requires a modern browser during development. Any semi-recent release of Firefox, Chrome, Safari, or Edge for example.
Install Snowpack
To get started, create an empty directory for your new Snowpack project. Create the new directory using your favorite GUI or by running the command line as shown here:
mkdir my-first-snowpack
cd my-first-snowpack
Snowpack is a package installed from npm. Create a package.json file in your project directory to manage your dependencies. Run this command in your project to create a simple, empty package.json:
npm init
💡 Tip: In a hurry? Run
npm init --yesto skip the prompts and generate a package.json with npm’s default, recommended fields.
Now install Snowpack to your dev dependencies with this command:
npm install --save-dev snowpack
💡 Tip: Snowpack can install globally via
npm install -g snowpack. But, we recommend installing locally in every project via--save-dev/--dev. Run the Snowpack command-line tool locally via package.json “scripts”, npm’snpx snowpack, or viayarn snowpack.
Snowpack’s development server
Adding a basic HTML file allows us to run Snowpack’s development server, an instant development environment for unbundled development. The development server builds a file only when it’s requested by the browser. That means that Snowpack can start up instantly (usually in <50 ms) and scale to infinitely large projects without slowing down. In contrast, it’s common to see 30+ second development startup times when building large apps with a traditional bundler.
Create an index.html in your project with the following contents:
<!DOCTYPE html>
<html lang="en">
  <head>
    <meta charset="utf-8" />
    <meta name="viewport" content="width=device-width, initial-scale=1" />
    <meta name="description" content="Starter Snowpack App" />
    <title>Starter Snowpack App</title>
  </head>
  <body>
    <h1>Welcome to Snowpack!</h1>
  </body>
</html>
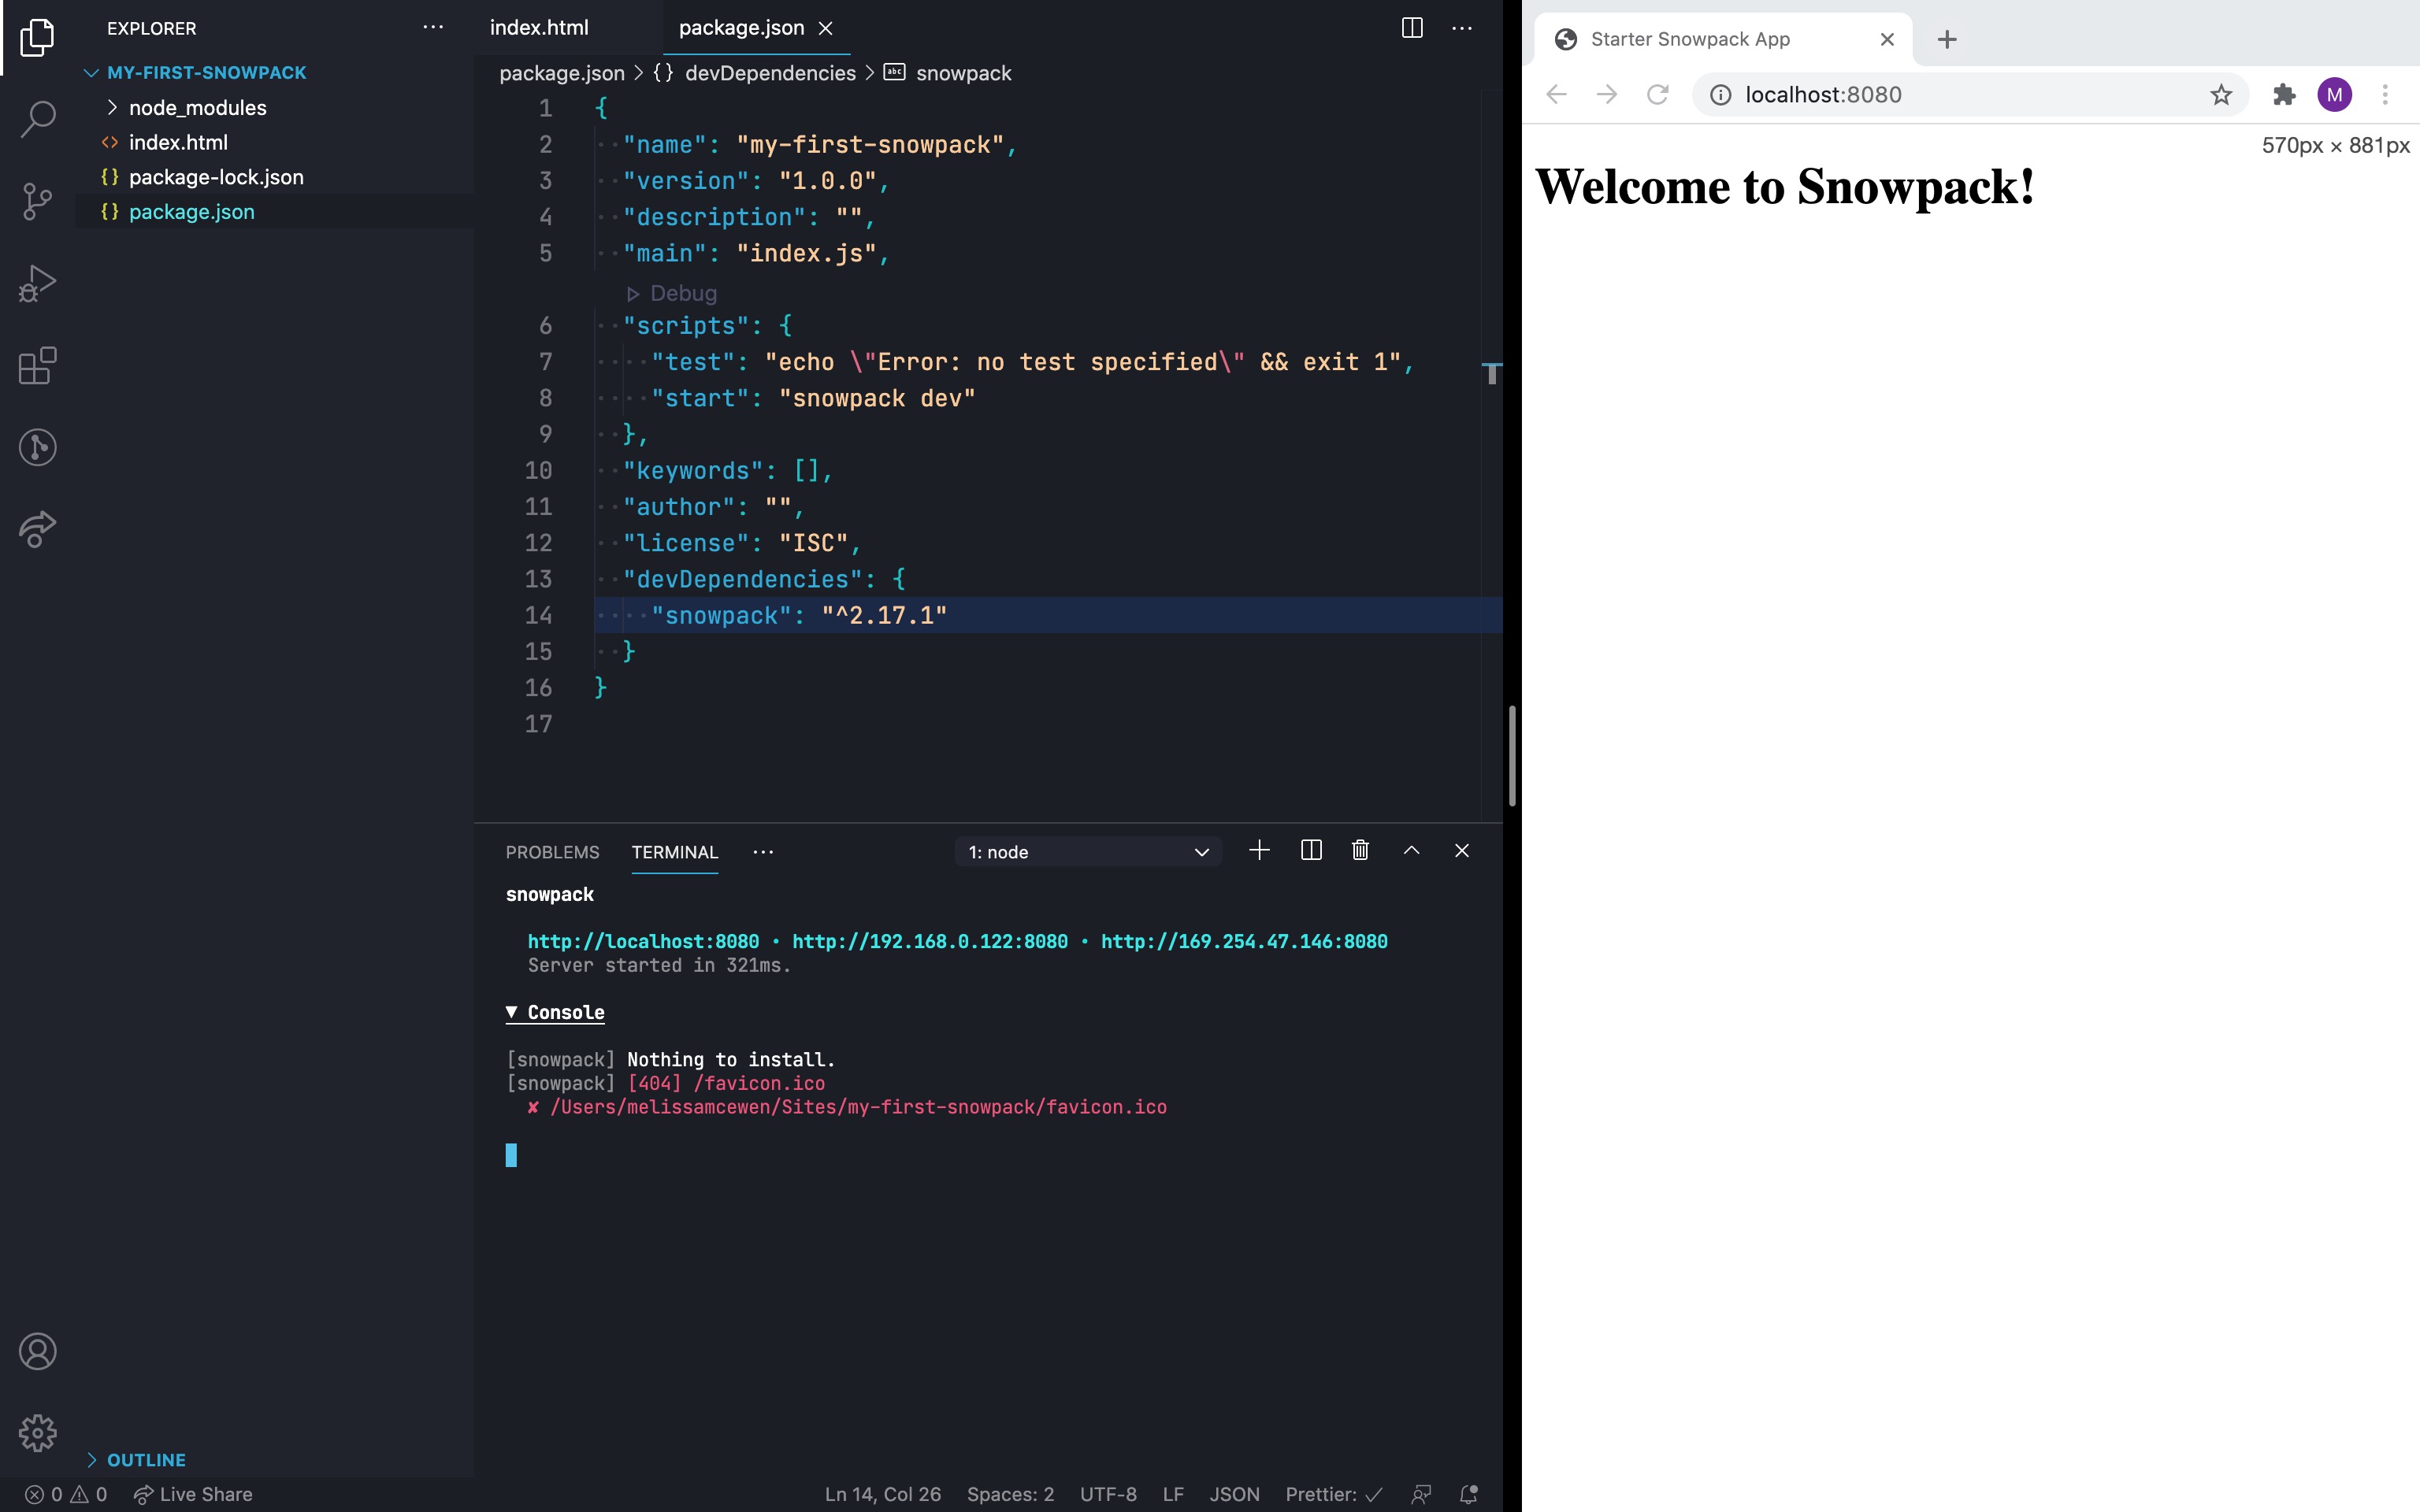
Add the Snowpack development server to package.json under as the start script:
  "scripts": {
+   "start": "snowpack dev",
    "test": "echo "Error: no test specified" && exit 1"
  },
Run the following on the command line to start the Snowpack development server
npm run start
If all went well, Snowpack automatically opens your site in a new browser!
Congratulations! You now have a Snowpack project up and running! Try changing the index.html and saving while the server is running, the site should refresh and show changes automatically.
Using JavaScript
Learn more about how Snowpack processes JavaScript by adding a simple “hello world” script. JavaScript’s native ES Module (ESM) syntax is the magic behind Snowpack’s unbundled development. There’s a good chance that you’re already familiar with ESM, and you just don’t know it! ESM lets you define explicit imports & exports that browsers and build tools can better understand and optimize for. If you’re familiar with the import and export keywords in JavaScript, then you already know ESM!
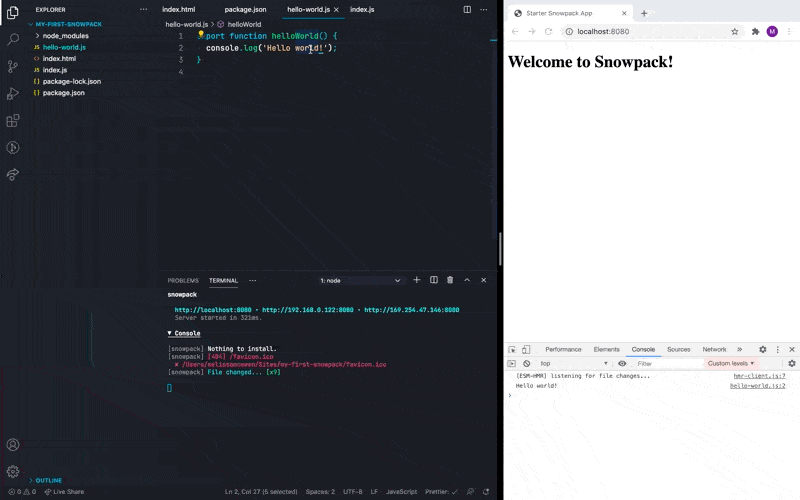
Create a new JavaScript file called hello-world.js that exports a single helloWorld function:
// my-first-snowpack/hello-world.js
export function helloWorld() {
  console.log('Hello World!');
}
Then create an index.js that imports your new module using ESM syntax:
// my-first-snowpack/index.js
import {helloWorld} from './hello-world.js';

helloWorld();
Snowpack scans for files referenced in index.html, so add your index.js to index.html at the bottom of the <body> tag:
  <body>
    <h1>Welcome to Snowpack!</h1>
+   <script type="module" src="/index.js"></script>
  </body>
Check your console on your Snowpack site. You should see “Hello World!” Try making a change to the module. Snowpack rebuilds that module without rebuilding the rest of your code. Snowpack builds every file individually and caches it indefinitely. Your development environment never builds a file more than once and your browser never downloads a file twice (until it changes). This is the real power of unbundled development, and the secret behind what makes Snowpack so fast.
Using npm Packages
Snowpack builds any npm package into ESM web modules. npm packages are mainly published using a module syntax (Common.js, or CJS) that can’t run on the web without some build processing. Even if you write your application using browser-native ESM import and export statements that would all run directly in the browser, trying to import any one npm package forces you back into bundled development.
Snowpack takes a different approach: instead of bundling your entire application for this one requirement, Snowpack processes your dependencies separately. Here’s how it works:
node_modules/react/**/*     -> http://localhost:3000/web_modules/react.js
node_modules/react-dom/**/* -> http://localhost:3000/web_modules/react-dom.js
- Snowpack scans your website/application for all used npm packages.
- Snowpack reads these installed dependencies from your
node_modulesdirectory. - Snowpack bundles all your dependencies separately into single JavaScript files. For example:
reactandreact-domconvert toreact.jsandreact-dom.js, respectively. - Each resulting file runs directly in the browser, and imported via ESM
importstatements. - Because your dependencies rarely change, Snowpack rarely needs to rebuild them.
After Snowpack builds your dependencies, import any package and run it directly in the browser with zero extra bundling or tooling. This ability to import npm packages natively in the browser (without a bundler) is the foundation that all unbundled development and the rest of Snowpack builds on top of.
Snowpack lets you import npm packages directly in the browser. Even if a package is using a legacy format, Snowpack up-converts the package to ESM before serving it to the browser.
💡 Tip: when you start up your development server or run a new build, you may see a message that Snowpack is “installing dependencies.” This means that Snowpack is converting your dependencies to run in the browser.
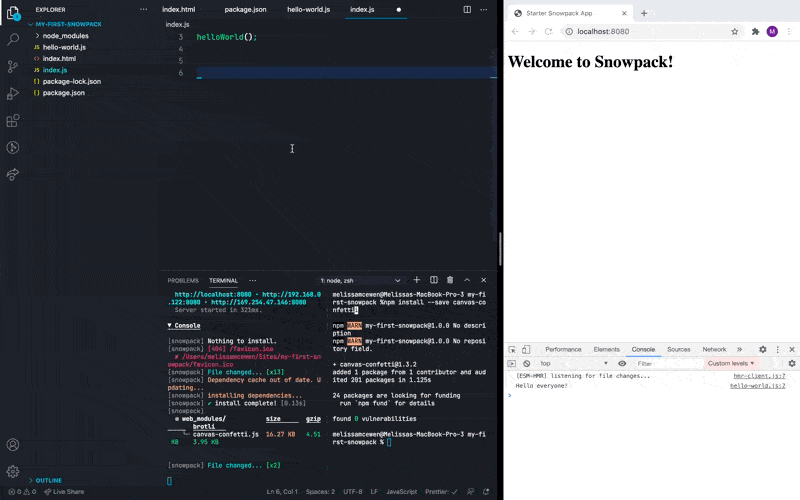
Install the canvas-confetti package from npm and use it with the following command:
npm install --save canvas-confetti
Now head to index.js and add this code:
helloWorld();

+import confetti from 'canvas-confetti';
+confetti.create(document.getElementById('canvas'), {
+  resize: true,
+  useWorker: true,
+ })({ particleCount: 200, spread: 200 });
💡 Tip: did you know, with Snowpack you can also add this code directly to your HTML if you prefer!
You should now see a nifty confetti effect on your site.
💡 Tip: not all npm modules may work well in the browser. Modules dependent on Node.js built-in modules need a polyfill. You can enable this polyfill by setting Snowpack’s
packageOptions.polyfillNodeconfiguration option totrue.
Adding CSS
Snowpack natively supports many file types. CSS and CSS Modules for example. Add a simple CSS file to see how it works.
Add the following css as a new index.css file:
body {
  font-family: sans-serif;
}
Include it in your project by adding it to index.html in the <head>
    <meta name="description" content="Starter Snowpack App" />
+   <link rel="stylesheet" type="text/css" href="/index.css" />
    <title>Starter Snowpack App</title>

Build for production/deployment
OK you’ve now built a very simple website and you want to launch it. It’s time to use snowpack build.
By default, snowpack build builds your site using the same unbundled approach as the dev command. Building is integrated with your development setup which guarantees a near-exact copy of the same code that you saw during development.
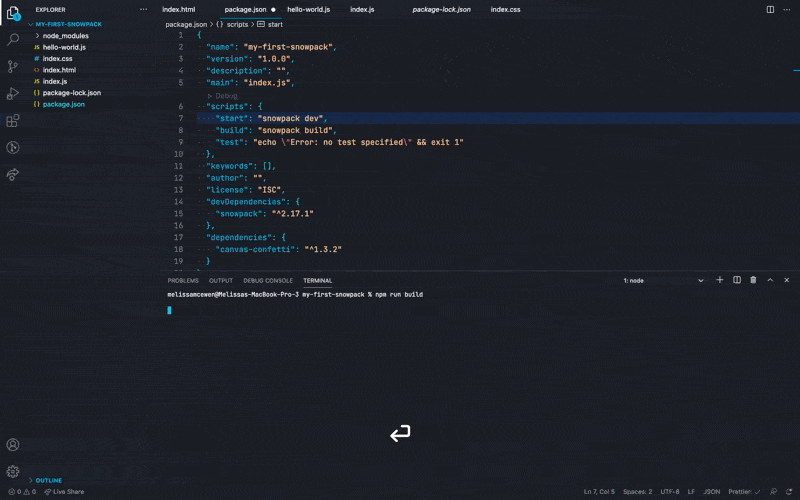
Add the snowpack build command to package.json so it’s easier to run on the command line:
  "scripts": {
    "start": "snowpack dev",
+   "build": "snowpack build",
    "test": "echo "Error: no test specified" && exit 1"

  },
Now you can run this in your terminal:
npm run build
You should see a new directory called build that contains a copy of your Snowpack project ready for deployment.
Next Steps
You’ve just learned the major concepts of unbundled developments and built a tiny Snowpack project. But that’s just the beginning with Snowpack.
What’s next? Our docs site has several great resources
- Bundling for production guide: how to connect a bundler like Webpack to optimize code for production deployments
- Plugins: a list of plugins that allow you to integrate your favorite tools with Snowpack
- Templates/Examples: pre-built projects you can build on or just explore using many popular frameworks and tools
- Guides: Step by step deep dives on building with and for Snowpack. Includes frameworks like React and Svelte.
If you have any questions, comments, or corrections, we’d love to hear from you in the Snowpack discussion forum or our Snowpack Discord community.